
How To Add Auto CC On Gmail - 2024 Guide

In the dynamic landscape of modern communication, the ability to streamline and enhance email correspondence is invaluable. Within the realm of G Suite, particularly Google's suite of productivity tools, lies a hidden gem: the Auto CC feature. This seemingly small yet powerful function has the potential to revolutionize the way you manage your emails within your company. And there is nothing we over at Phent {Studio} love more then efficiency and small little hacks to improve everyday life!
Imagine effortlessly keeping stakeholders or team members in the loop without the hassle of manual CCing, ensuring transparency, accountability, and efficient collaboration. Whether it's for tracking purposes, maintaining records, or facilitating seamless communication among team members, Auto CC in G Suite presents a game-changing solution. Let's delve into how this feature works and explore its myriad of benefits for optimizing your email workflow.
An everyday scenario where Auto CC proves beneficial is when managing multiple invoice inboxes, allowing you to efficiently route them to a central location, thereby simplifying bookkeeping and streamlining accounting processes.
Step by step guide how to add Auto CC on Gmail
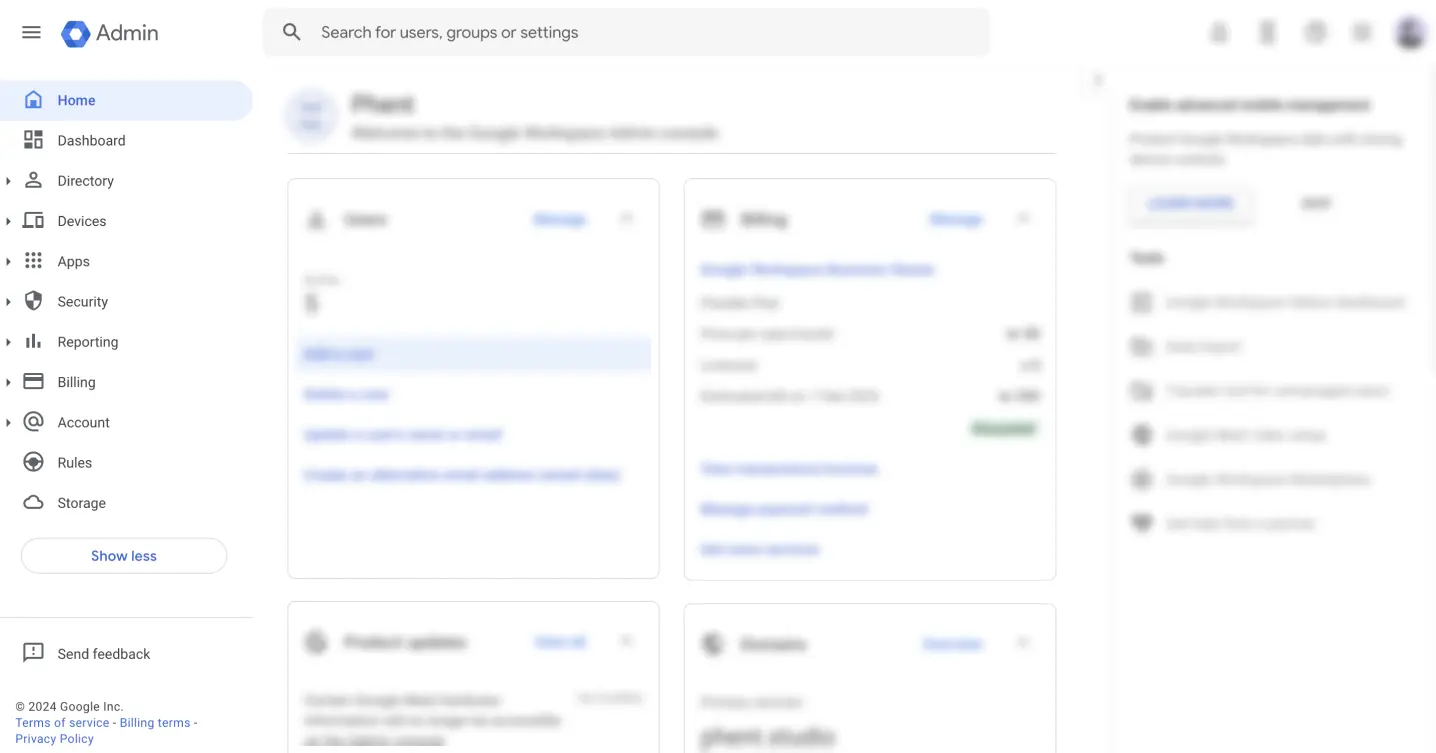
Step 1 - Log in to your google admin
You can find you google workspace admin by going to this link and logging in: admin.google.com
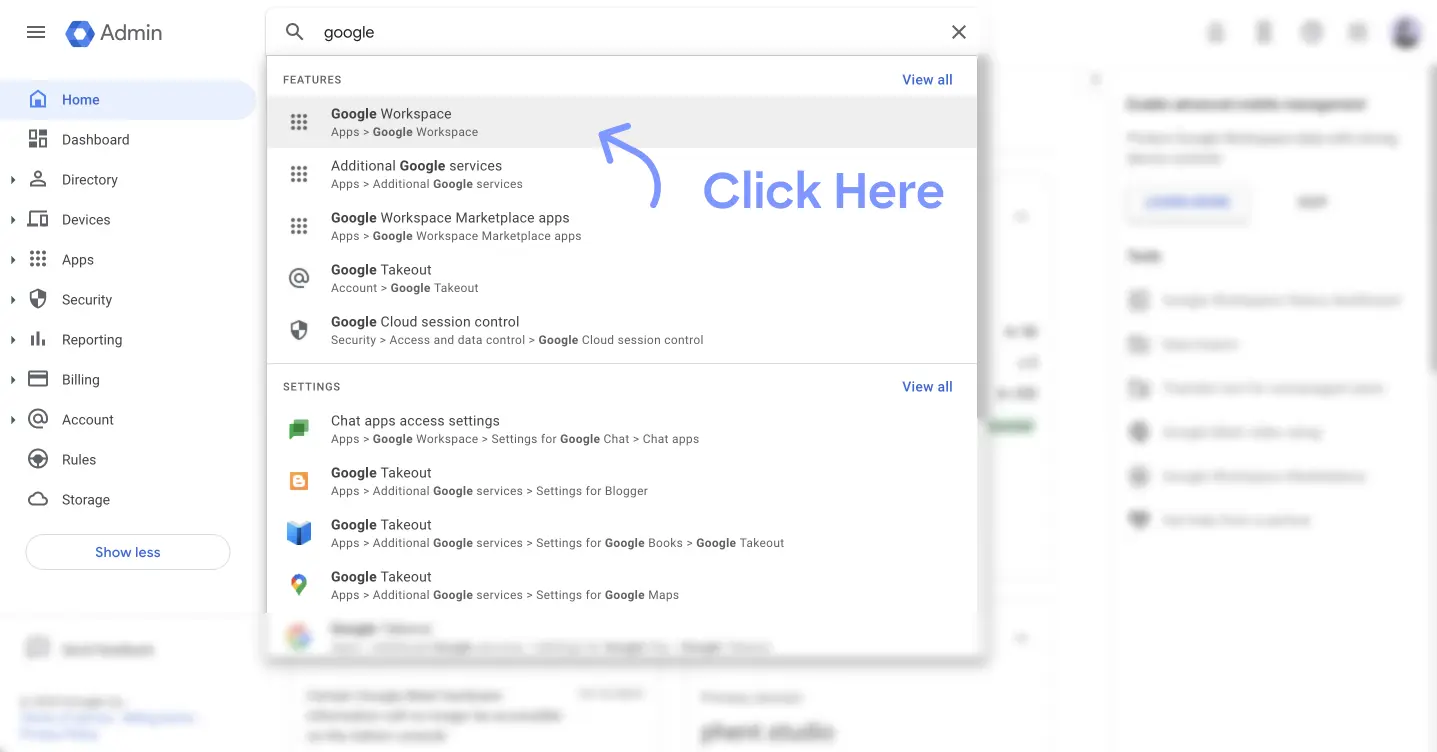
Step 2 - Click the search bar & search for "Google workspace"
At the top center of your screen, locate the search bar. Click on it and type "Google workspace" to find and select the option shown in the picture below.
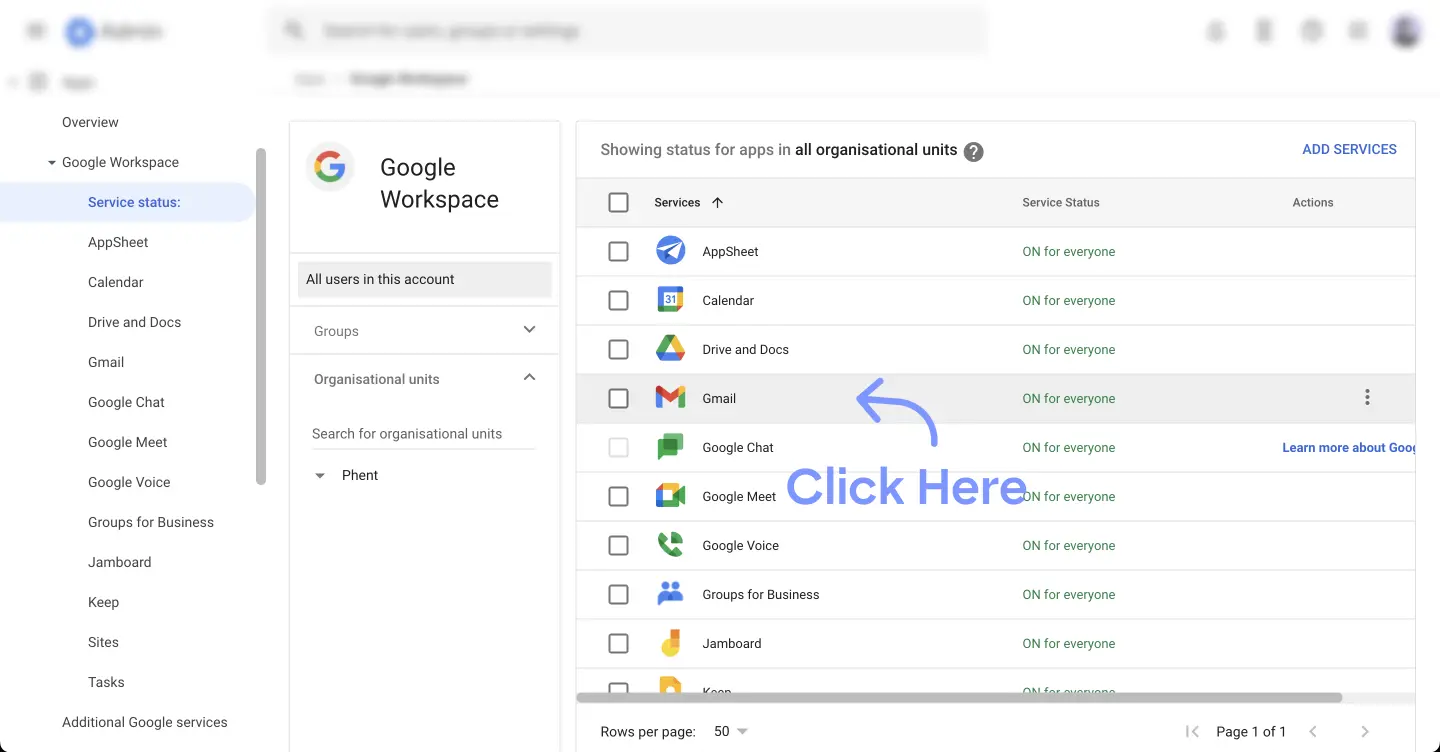
Step 3 - Click on the Gmail app
Once you've accessed the list of workspace apps, locate Gmail and select it.
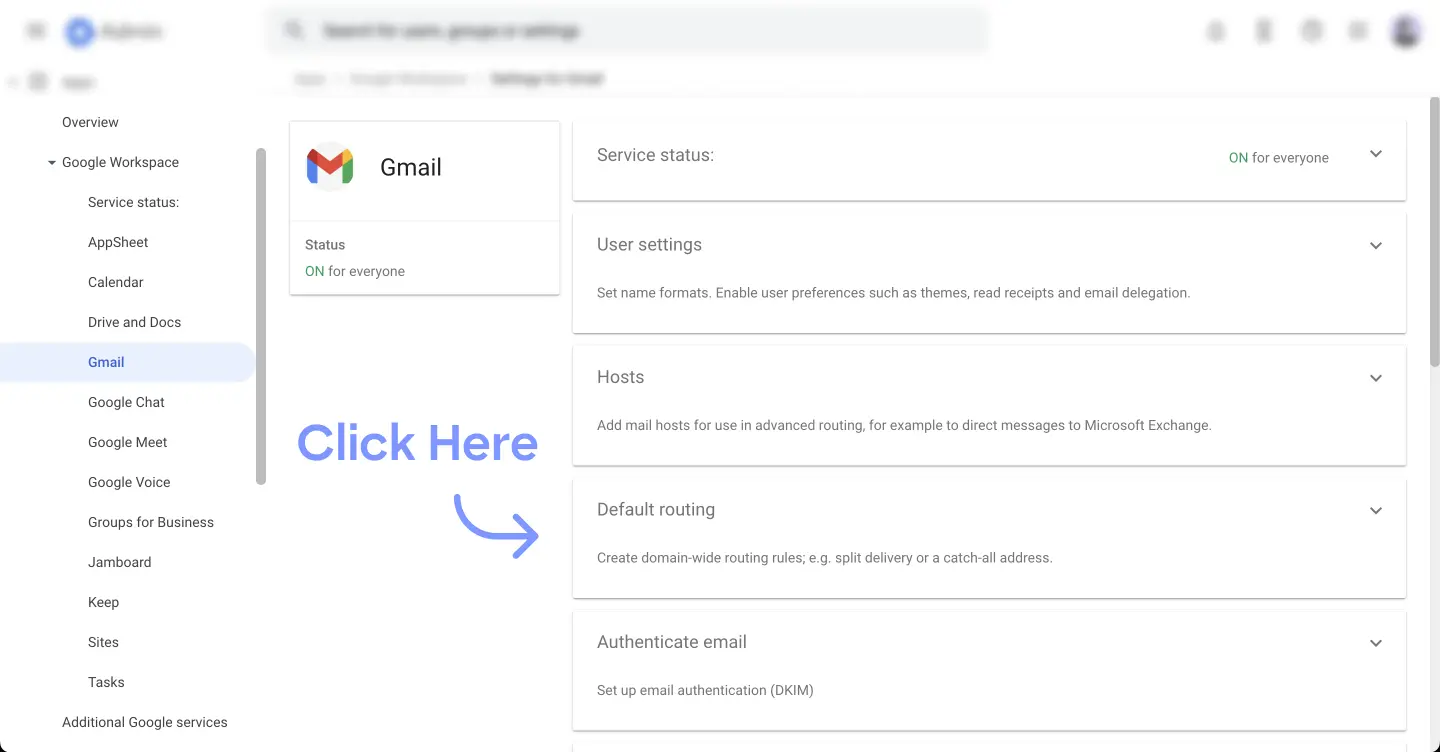
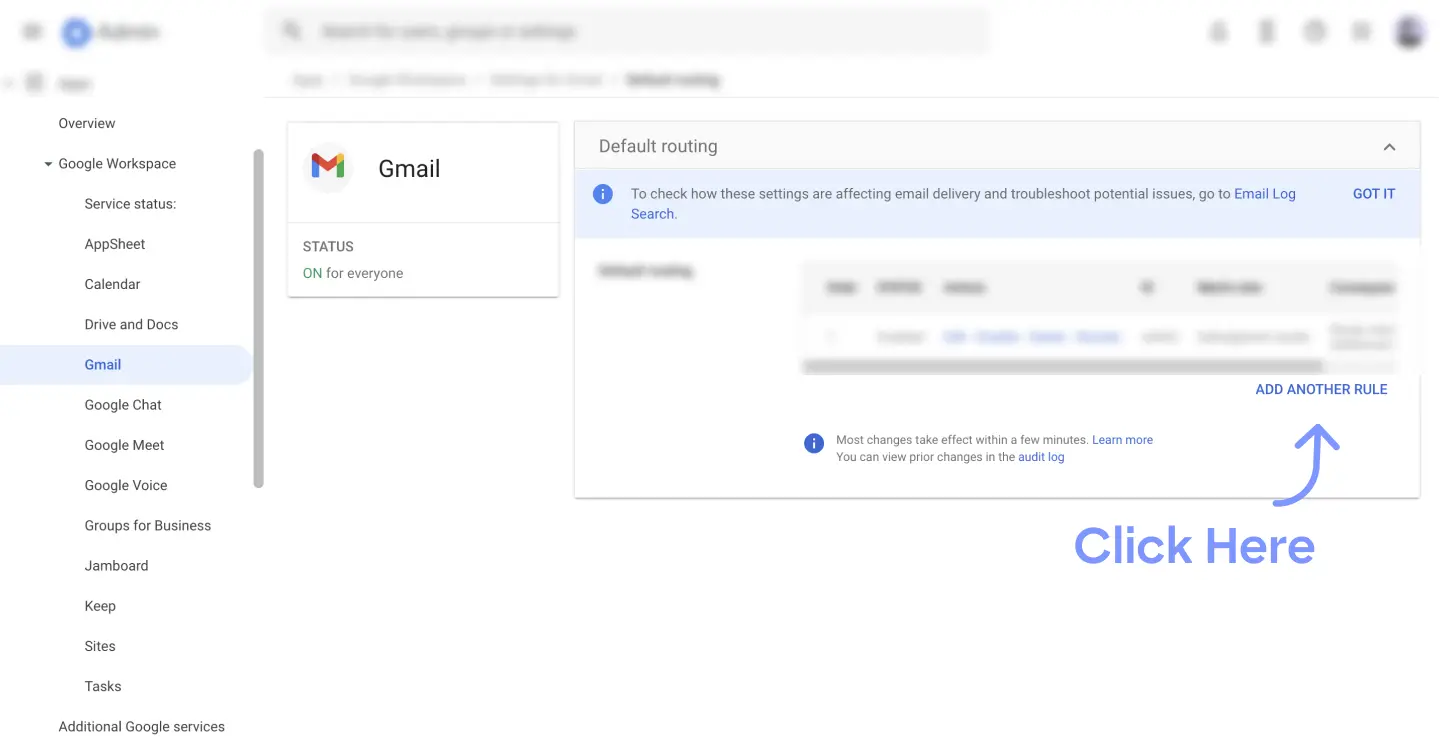
Step 4 - Click "Default routing"
You'll find a set of fresh options tailored for the Gmail app. Choose the one labeled "Default routing.
Step 5 - Click "ADD ANOTHER RULE"
Once you're in the settings for "default routing," click on "Add another rule.
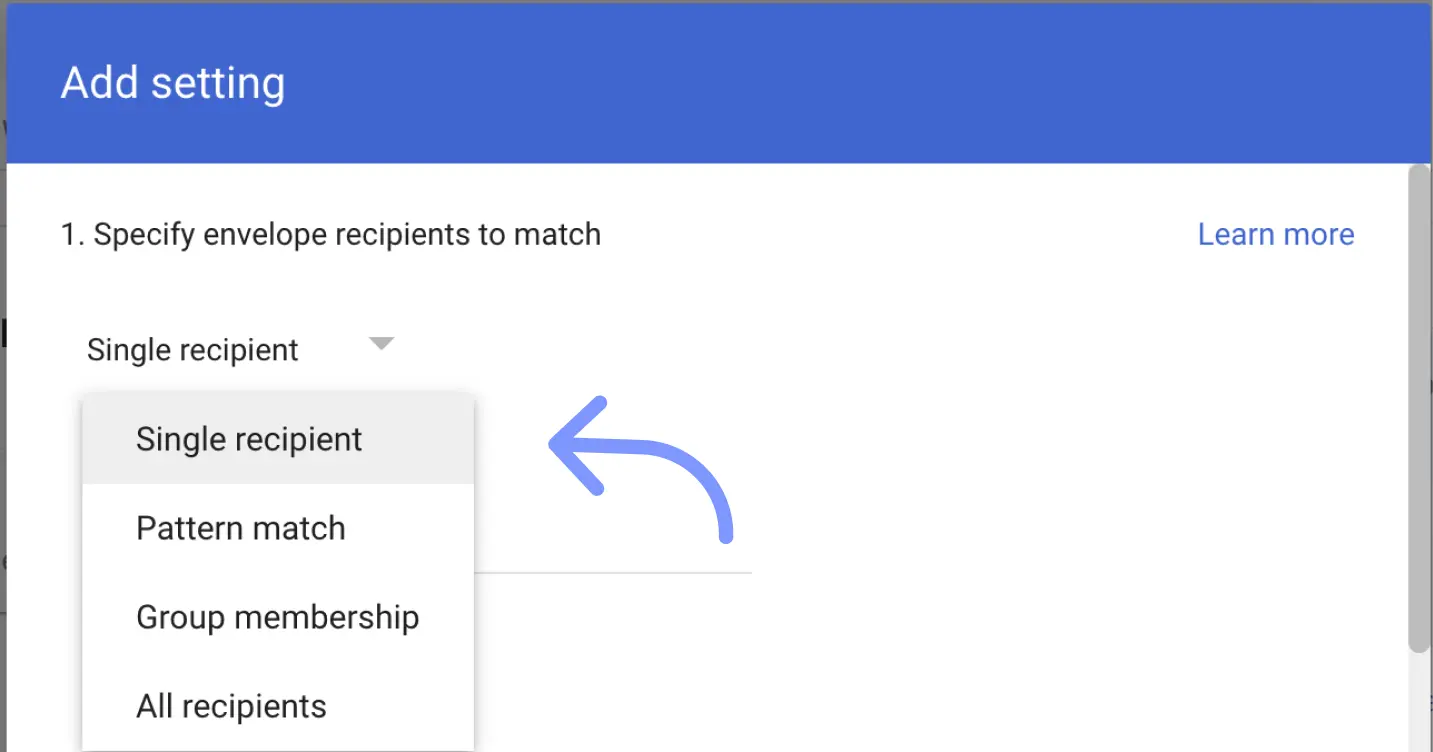
Step 6 - Fill out the pop up form with the settings that fits your needs
Upon clicking "Add another rule," a popup form will appear, presenting settings for you to customize according to your specific requirements. However, our usual recommendation is to proceed as follows:
"Single recipient"
here you type in the email that should send a CC / copy to another email.
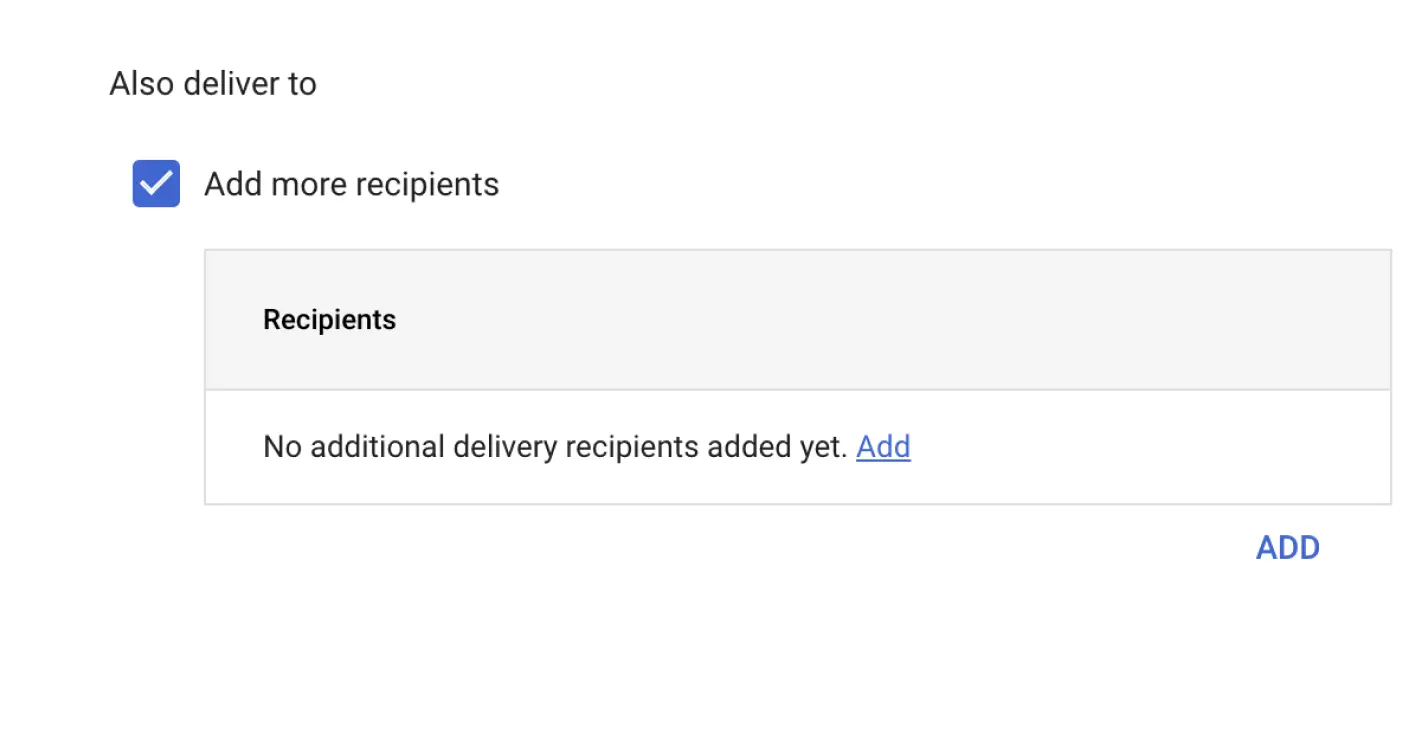
"Also deliver to"
Here you add what email adress you want the copy of the mail being sent to. For example the accounting department for invoices and such.
"Perform this action on non-recognised and recognised addresses"
this option will make sure that it always forwards the email so there will be no exception!
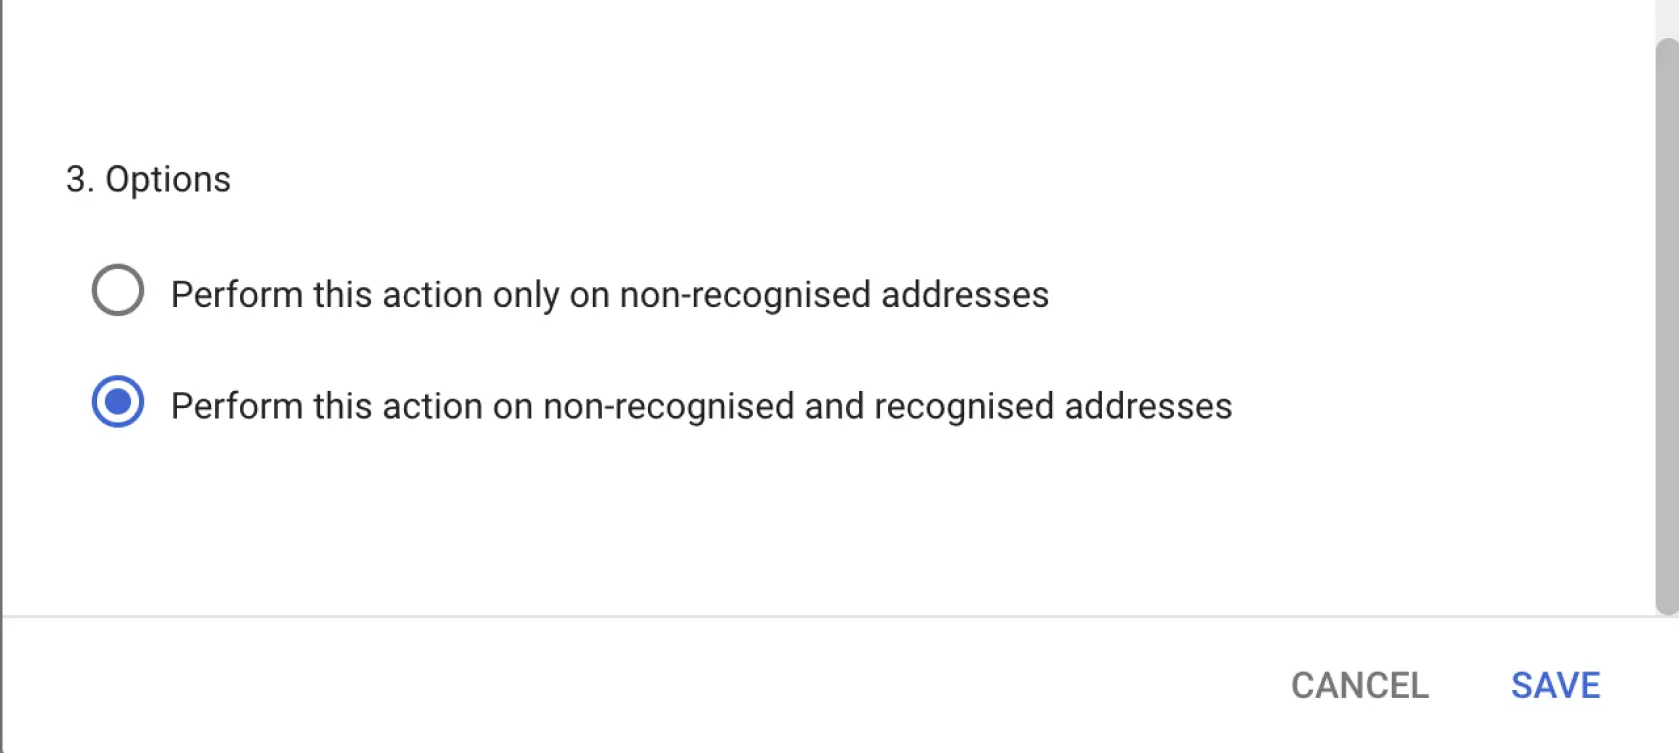
Step 7 - Save and enjoy your auto CC in Gmail
Press the save button to make sure the new rule is saved, and there you have it. Your own custom rule for auto CC and forwarding for emails.
Conclusion
We really hope this short tutorial was useful for you, and helps you setup some smart CC:s in your google workspace to help you stay efficient.
If you have any other questions or hacks you want ot figure out, be sure to check out our entire blog, or contact us and we would love to take a quick meeting to discuss how we could help you out!

We Share Our Craziest Thoughts In Private
Do you want some extra insights that you can’t find anywhere else but our own Phent Offices? Join our newsletter to get a sneak peak into what we are working on. *psst might be some event invites aswell :)
Other Thoughts, Insights &
News
Have you not got enough of us yet? Check out some other things we have said!
.webp)
Wordpress vs Webflow - Which One You Should Choose and Why 2024

Small Business Web Design - Fixed Price Only

5 Venture Capital Websits Built In Webflow
Feel Convinced Yet?
As Pablo Picasso said - Action is the foundational key to all success.
Get in touch with us and lets paint your dreams into reality!
We would love to hear your ideas, and share out thoughts to see what we could build together. You can excpect to get a respone within 24 hours!